There is something about summer that makes me want to save every bit of it.
Maybe it’s because the season always feels too short.
One minute I’m taking my girls to the farmers market on a sunny Saturday morning, and the next thing I know we’re pulling out sweaters and talking about back-to-school routines.
One of my favorite summer finds is fresh sweet corn.
We always come home with way more than we need because it looks so good piled high in those market bins. The kernels are sweet, juicy, and nothing like the corn you buy in the middle of winter.
Instead of letting that extra corn go to waste, I freeze it so we can enjoy a little taste of summer months later.
If you’ve never frozen corn on the cob before, don’t worry.
It’s surprisingly easy and only takes a little bit of prep work.
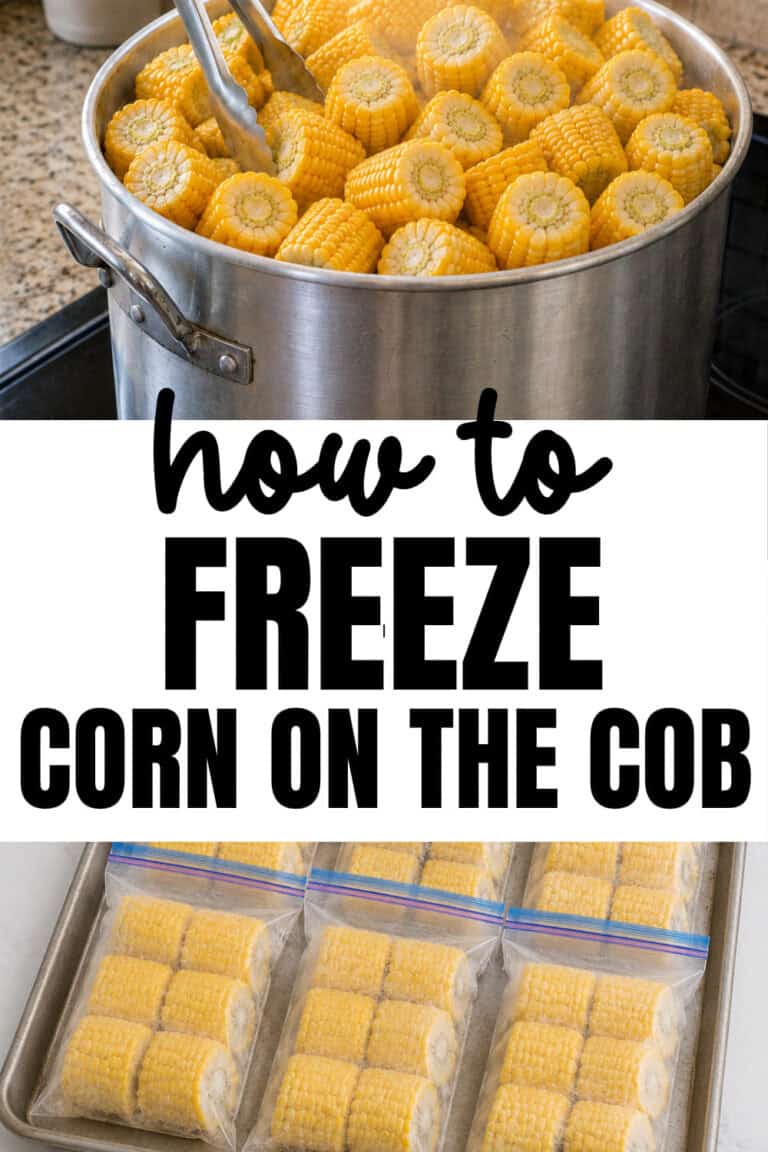
In this guide, I’ll show you exactly how to freeze corn on the cob, how long it lasts and anything else you need to know!
Why Freeze Corn on the Cob?
Freezing corn helps preserve its sweetness and flavor when it’s at its peak freshness.
It doesn’t matter that you you picked it yourself, bought too much at the farmers market, or found an amazing sale at the grocery store, freezing corn lets you enjoy that fresh summer taste throughout the year.
Frozen corn on the cob is perfect for:
- Family dinners
- Barbecues
- Soups and chowders
- Side dishes
- Holiday meals
- Quick weeknight dinners
Supplies You’ll Need
To make your corn last months later in the freezer, make sure you have these supplies on hand:
- Fresh corn on the cob
- Large pot
- Large bowl filled with ice water
- Tongs
- Paper towels or clean kitchen towels
- Freezer bags or vacuum-sealed bags
- Permanent marker for labeling
How to Freeze Corn: Step by Step Instructions
Step 1: Choose Fresh Corn
For the best flavor, try to freeze your corn as soon as possible after purchasing or picking it.
Fresh corn naturally contains more sweetness and moisture, which helps it maintain its taste and texture during freezing. The sooner you get it into the freezer, the more of that delicious summer flavor you’ll be able to enjoy later.
Step 2: Remove Husks and Silk
Peel away all of the husks and remove as much silk as possible.
Rinse each ear under cool water to remove any remaining strands.
Don’t worry if you miss a few pieces. You can always remove them after blanching.
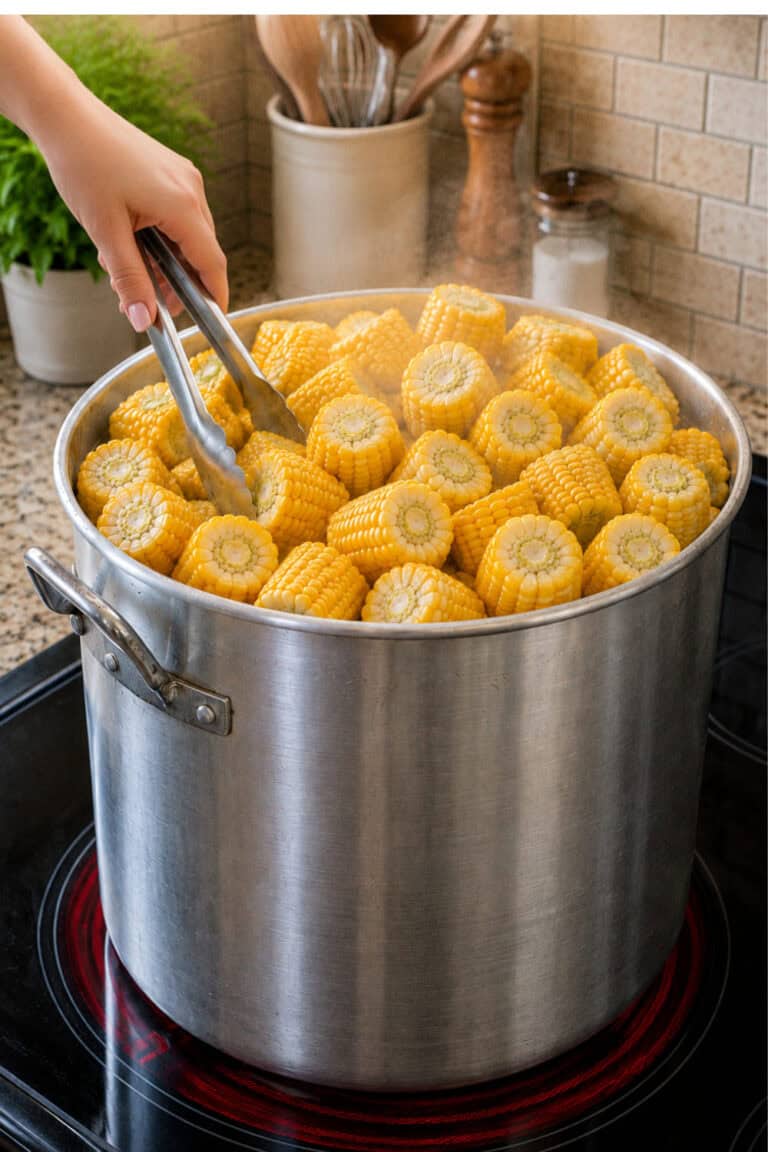
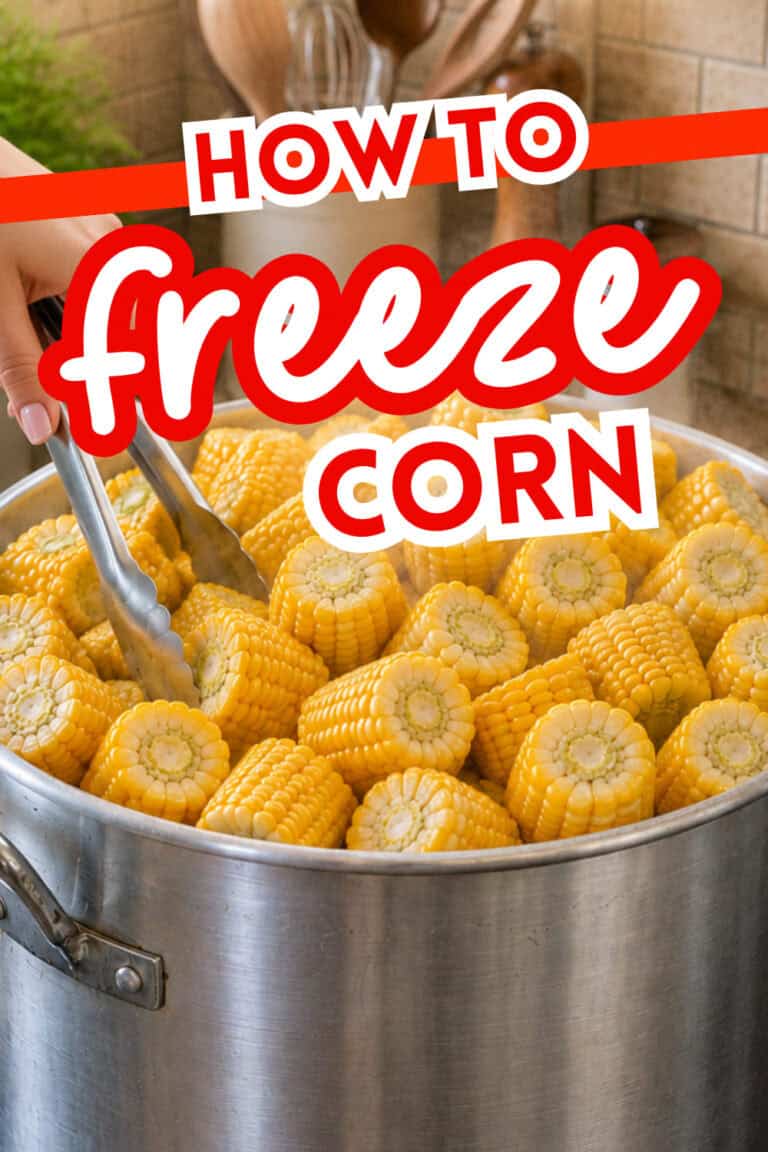
Step 3: Blanch the Corn
Blanching is the secret to keeping frozen corn tasting fresh.
Bring a large pot of water to a rolling boil.
Carefully place the ears of corn into the boiling water.
Blanch according to size:
- Small ears: 7 minutes
- Medium ears: 9 minutes
- Large ears: 11 minutes
This step helps stop the enzymes that cause vegetables to lose flavor, color, and texture while frozen.
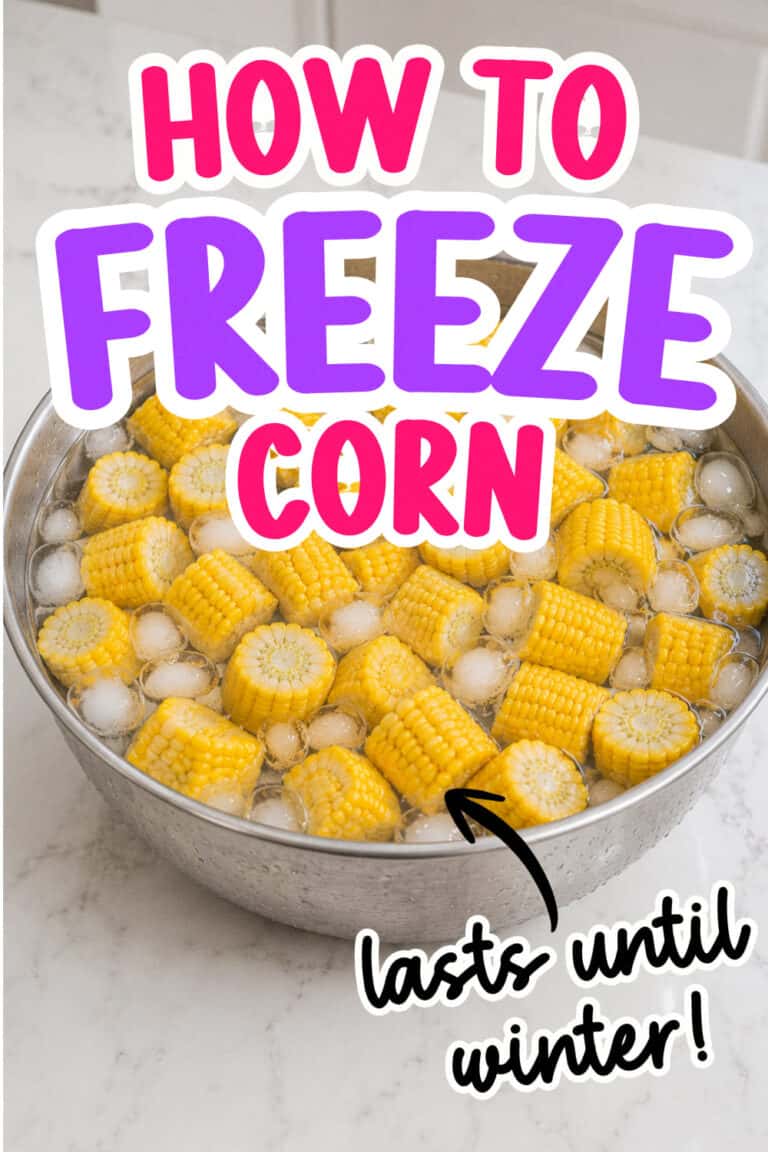
Step 4: Cool Immediately
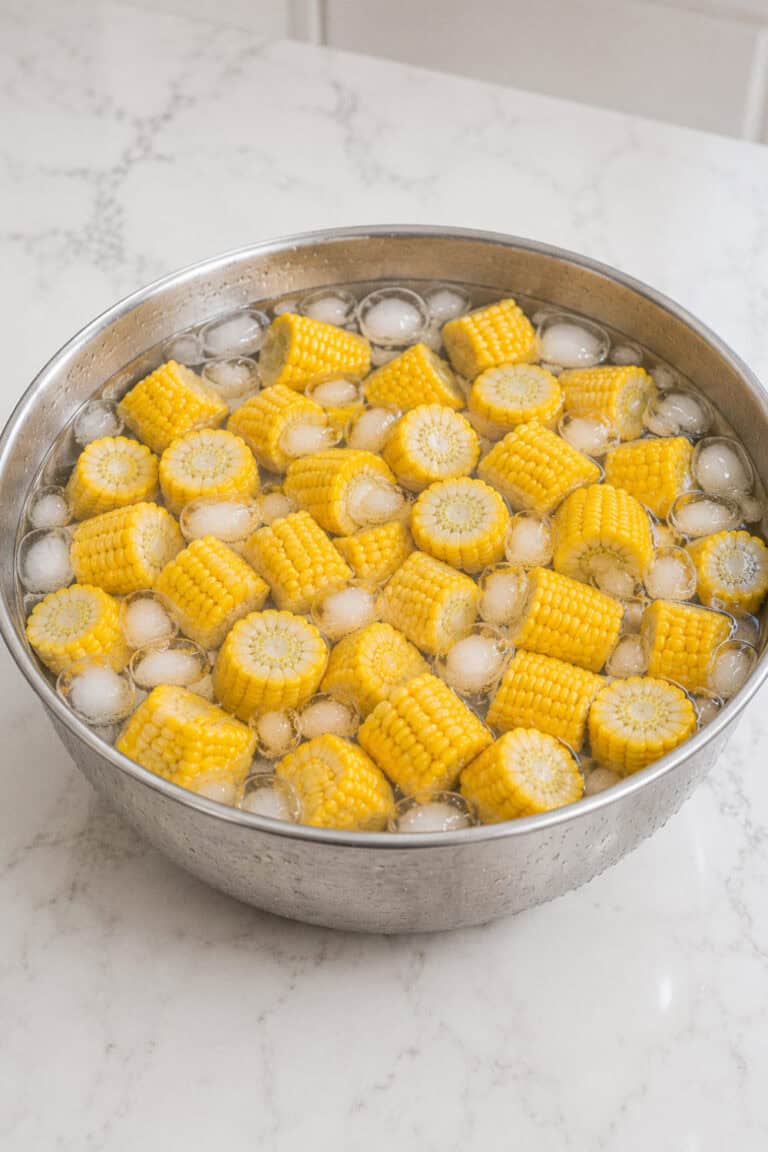
As soon as the blanching time is up, transfer the corn to a large bowl filled with ice water.
Let the corn cool for the same amount of time it was blanched.
This stops the cooking process and helps preserve the texture.
Step 5: Dry Thoroughly
Remove the corn from the ice bath and pat each ear dry with clean towels.
Removing excess moisture helps prevent ice crystals from forming in the freezer.
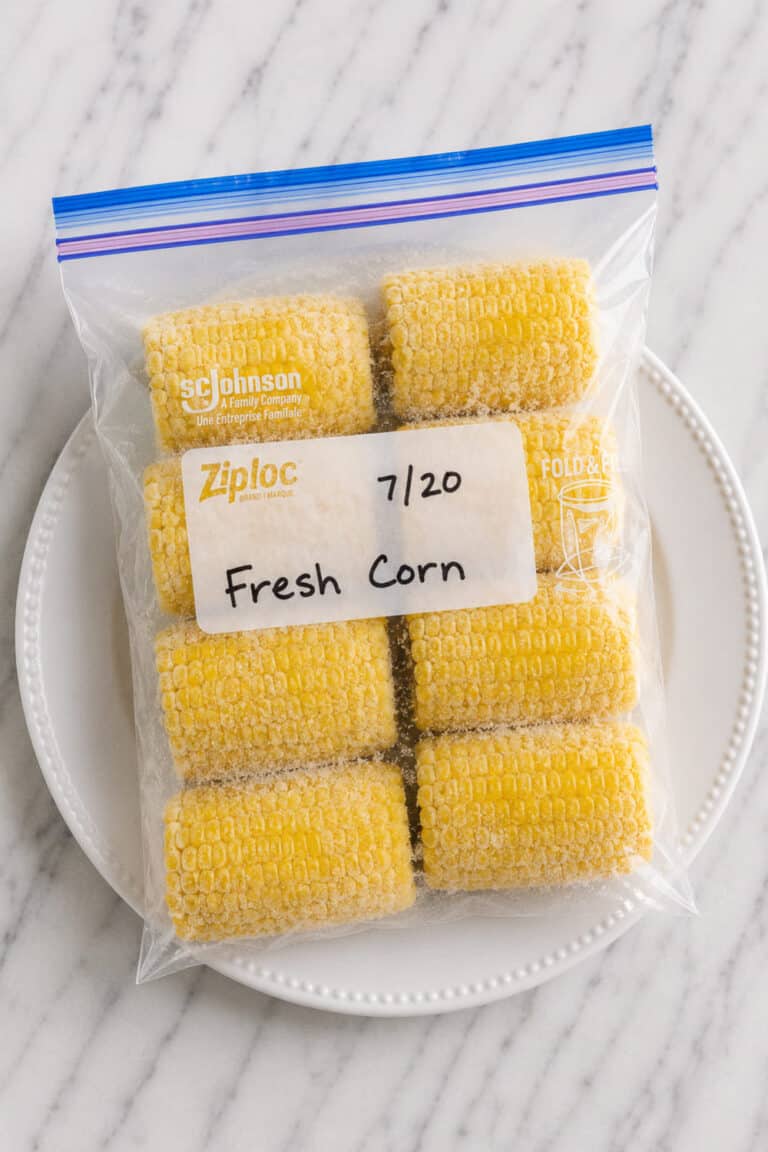
Step 6: Package for Freezing
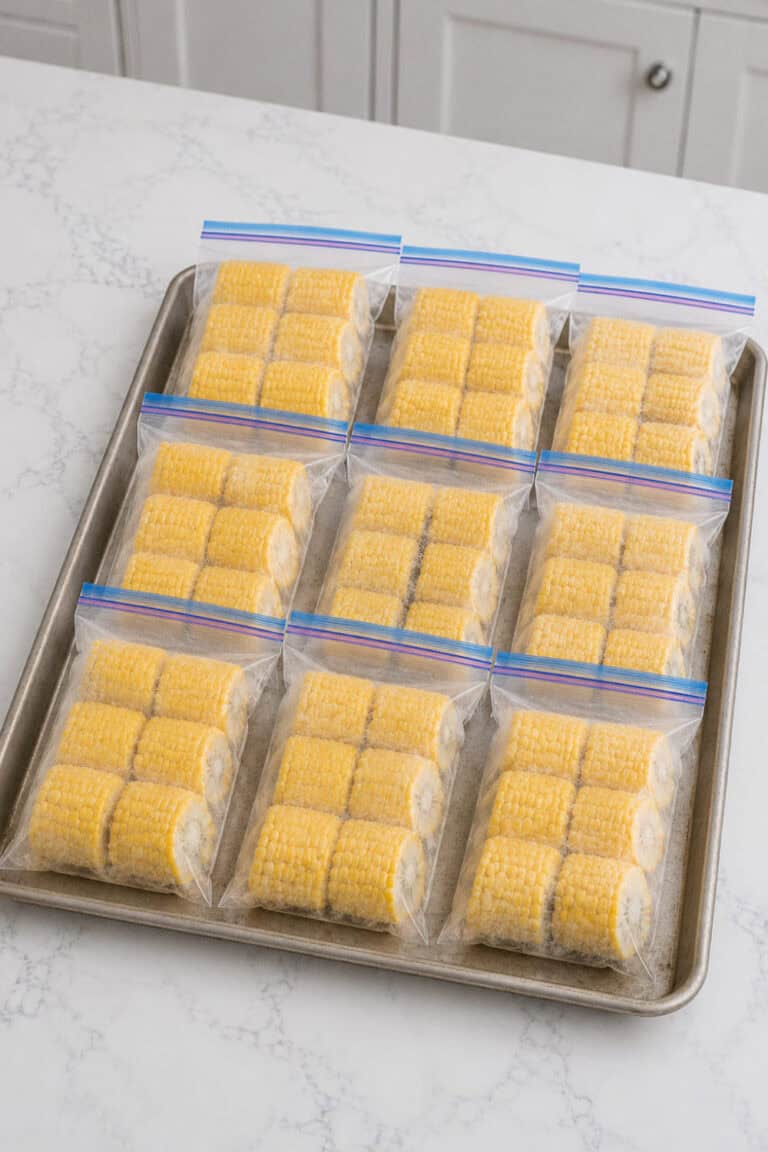
Place the dried ears into freezer-safe bags.
Remove as much air as possible before sealing.
Label each bag with:
- The contents
- The date frozen
For even longer storage, use a vacuum sealer if you have one.
Step 7: Freeze
Lay the bags flat in the freezer.
Once frozen solid, you can stack them to save space.
How Long Does Frozen Corn on the Cob Last?
For the best quality, use frozen corn within 8 to 12 months.
While it may remain safe longer if continuously frozen, the flavor and texture are best within the first year.
Can You Freeze Corn on the Cob Without Blanching?
Technically, yes.
However, blanching is highly recommended.
Without blanching, the corn may develop an off flavor, lose color, and become mushy more quickly during storage.
If you plan to use the corn within a few weeks, freezing without blanching may be fine, but for long-term storage, blanching gives the best results.
How to Cook Frozen Corn on the Cob
The good news is you don’t need to thaw it first.
Boiling
Place frozen corn directly into boiling water.
Cook for 5 to 7 minutes until heated through.
Grilling
Wrap frozen corn in foil and grill over medium heat for about 15 to 20 minutes.
Microwave
Place corn in a microwave-safe dish with a small amount of water.
Cover and microwave until hot.
Can You Freeze Corn Kernels Instead?
Absolutely.
After blanching and cooling, use a sharp knife to cut the kernels off the cob.
Spread them on a baking sheet and freeze until solid.
Transfer to freezer bags and store for future recipes.
This method is great for soups, casseroles, salads, and corn chowder.
Should You Freeze Corn in the Husk?
Some people freeze corn in the husk with no blanching.
While it is a faster method, it usually doesn’t preserve quality as well as blanching first.
For the sweetest flavor and best texture, blanching and freezing without the husk is the preferred method.
Can You Vacuum Seal Corn on the Cob?
Yes.
Vacuum sealing helps prevent freezer burn and extends storage quality.
Many gardeners and home preservers prefer vacuum sealing because it keeps the corn tasting fresher longer.
Signs Frozen Corn Has Gone Bad
Discard frozen corn if you notice:
- Large amounts of freezer burn
- Strange odors
- Discoloration
- Slimy texture after thawing
Properly frozen corn should maintain a fresh appearance and mild sweet smell.
How Many Ears of Corn Fit in a Freezer Bag?
Most gallon-sized freezer bags hold 4 to 6 ears depending on size.
Can Frozen Corn Be Re-Frozen?
It’s best not to refreeze thawed corn, as the texture can suffer significantly.
Corn All Through Summer and Fall!
Every summer I tell myself I’m only going to buy a few ears of corn, and every summer I somehow come home with a giant bag full of it.
Thankfully, freezing corn on the cob is one of the easiest ways to preserve that fresh summer flavor. With just a little prep work, you’ll have sweet, delicious corn waiting in your freezer for months to come.
And on a cold winter night when you’re serving dinner and pull out a few ears of that summer corn, you’ll be glad you took the extra time to save it.


")